Install Firmware
Note
The BlueROV used in this class runs the PX4 firmware. For the class we have created a fork of the firmware, please follow the instructions to install it. Most likely you will not get in touch with any of the firmware source code, but still you need to clone and install the corresponding repositories to complete this setup guide.
Set Up The Workspace
By now your directory structure should look like this if you followed the previous ROS installation section:
~/fav
└── catkin_ws
    ├── build
    ├── devel
    ├── logs
    └── src
Clone the Firmware
$ cd ~/fav && git clone --recursive https://github.com/FormulasAndVehicles/PX4-Autopilot.git
Clone MAVLink
$ git clone https://github.com/FormulasAndVehicles/mavlink.git ~/fav/catkin_ws/src/mavlink
Clone mavros
$ git clone https://github.com/FormulasAndVehicles/mavros.git ~/fav/catkin_ws/src/mavros
Use
rosdepto resolve dependenciescd ~/fav/catkin_ws && rosdep install --from-paths src --ignore-src -r -y
Install GeographicLib dataset
$ sudo ./src/mavros/mavros/scripts/install_geographiclib_datasets.sh
Install
xmlstarletandpython3-pip$ sudo apt install xmlstarlet python3-pip
Install additional dependencies
$ sudo apt install libignition-rendering3
Now your directory structure should look similiar to:
~/fav
├── catkin_ws
│   ├── build
│   ├── devel
│   ├── logs
│   └── src
│       ├── mavlink
│       └── mavros
│       └── bluerov_sim
└── PX4-Autopilot
Build The Catkin Workspace
Switch into your
catkin_ws$ cd ~/fav/catkin_ws
Build the code
$ catkin build
Update Gazebo Installation
You might get a build error similar to
make[2]: *** No rule to make target '/usr/lib/x86_64-linux-gnu/libsdformat9.so.9.5.0', needed by '/home/hippo/fav/catkin_ws/devel/.private/bluerov_sim/lib/libgazebo_range_sensor_plugin.so'.  Stop.
make[2]: *** Waiting for unfinished jobs....
In file included from /home/hippo/fav/catkin_ws/src/bluerov_sim/include/gazebo_range_sensor_plugin.h:6,
              from /home/hippo/fav/catkin_ws/src/bluerov_sim/plugins/gazebo_range_sensor_plugin.cpp:1:
/usr/include/gazebo-11/gazebo/common/Plugin.hh:33:10: fatal error: sdf/sdf.hh: No such file or directory
   33 | #include <sdf/sdf.hh>
      |          ^~~~~~~~~~~~
compilation terminated.
To fix this, uninstall Gazebo
$ sudo apt remove gazebo11 ros-noetic-gazebo-*
And reinstall
$ sudo apt install gazebo11 ros-noetic-gazebo-*
Build The PX4 Firmware
Switch into your
PX4-Autopilotdirectory$ cd ~/fav/PX4-Autopilot
Set up dependencies
$ bash ./Tools/setup/ubuntu.sh --no-nuttx
Build the code
$ DONT_RUN=1 make -j1 px4_sitl gazebo_uuv_bluerov2_heavy
Note
In some cases the
makecommand might fail. You might have to execute this again (just once is enough):$ sudo apt install libignition-rendering3
The
makecommand might also fail with an internal compiler error. This happens if the build process needs more RAM than is available. Just repeat the build command a few times until it succeeds.
Configure Environment Variables
Switch into your
favdirectory$ cd ~/fav
Edit your
~/.zshrcby executing the following commands$ echo "source $(pwd)/PX4-Autopilot/Tools/setup_gazebo.zsh $(pwd)/PX4-Autopilot $(pwd)/PX4-Autopilot/build/px4_sitl_default > /dev/null" >> ~/.zshrc echo "export ROS_PACKAGE_PATH=\$ROS_PACKAGE_PATH:$(pwd)/PX4-Autopilot" >> ~/.zshrc echo "export ROS_PACKAGE_PATH=\$ROS_PACKAGE_PATH:$(pwd)/PX4-Autopilot/Tools/sitl_gazebo" >> ~/.zshrc
Apply the changes of
~/.zshrc$ source ~/.zshrc
Test Your Setup
Attention
Make sure all packages are upgraded by running
sudo apt update && sudo apt upgrade
At this point you can check that your setup is functional by launching the simulation:
$ roslaunch px4 mavros_posix_sitl.launch vehicle:=uuv_bluerov2_heavy world:=$HOME/fav/PX4-Autopilot/Tools/sitl_gazebo/worlds/uuv_hippocampus.world
After a few seconds something similiar to the following screenshot should appear:
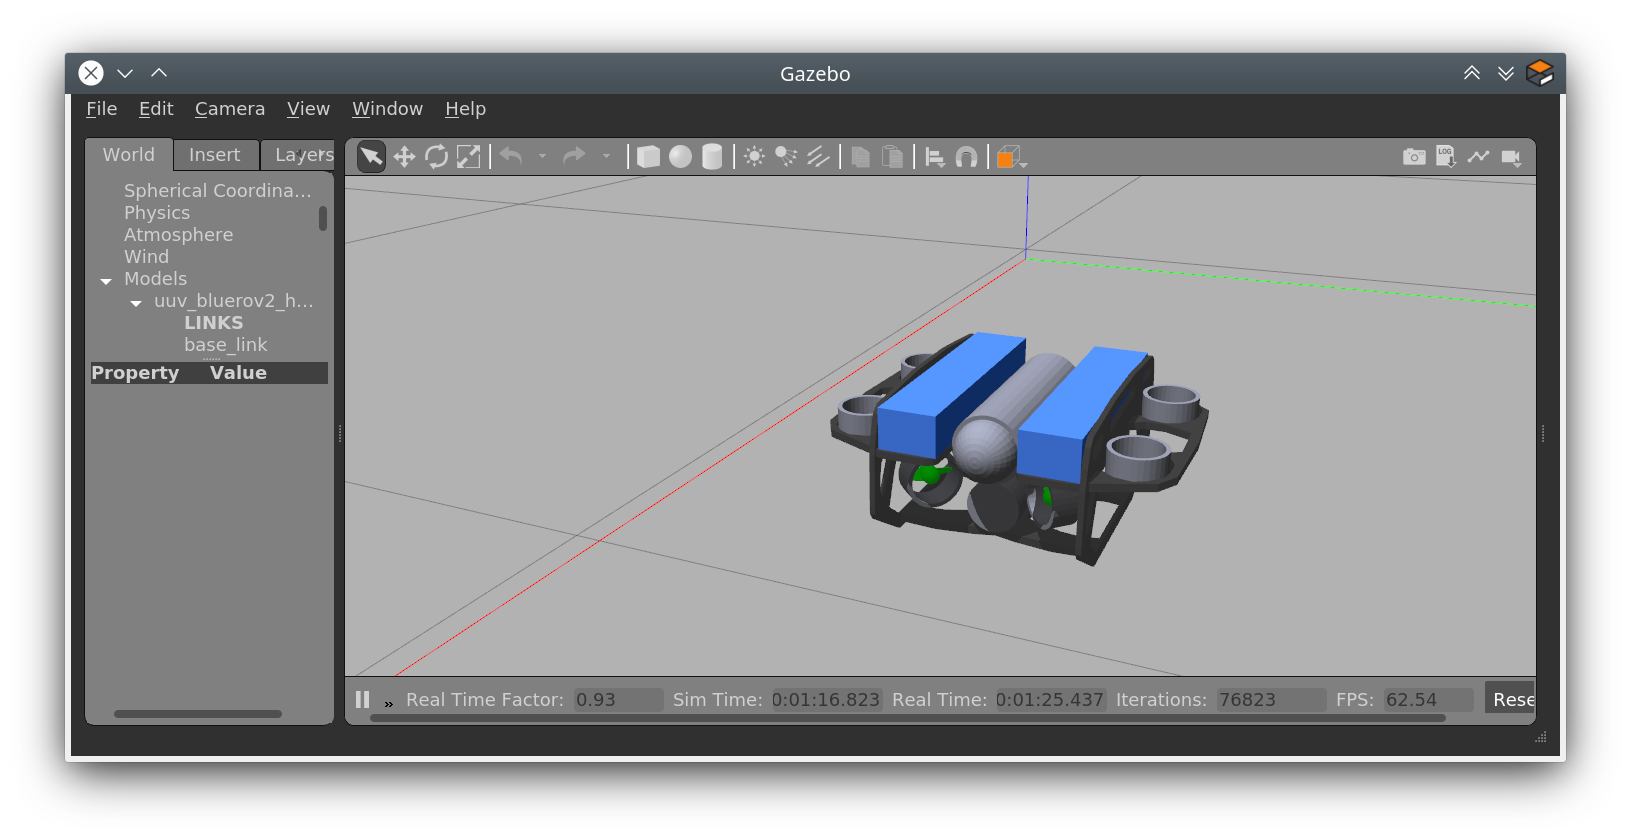
You can quit the program by hitting Ctrl + C in the terminal you have started it. It will take a few seconds to stop all the running processes.
Note
Closing the Gazebo GUI will only close the Gazebo GUI. All the other started processes will continue running. So please use the above mentioned shortcut to kill them.