2.7. Starting Simulation
2.7.1. General Launch Setup
Vehicle-specific nodes should be launched in namespace “vehicle_name”, for example uuv00 - uuv99.
Each camera node should be launched in namespace “camera_name”, which can be: vertical_camera for HippoCampus, and vertical_camera and front_camera for the BlueROV’s two cameras.
2.7.2. Spawning HippoCampus
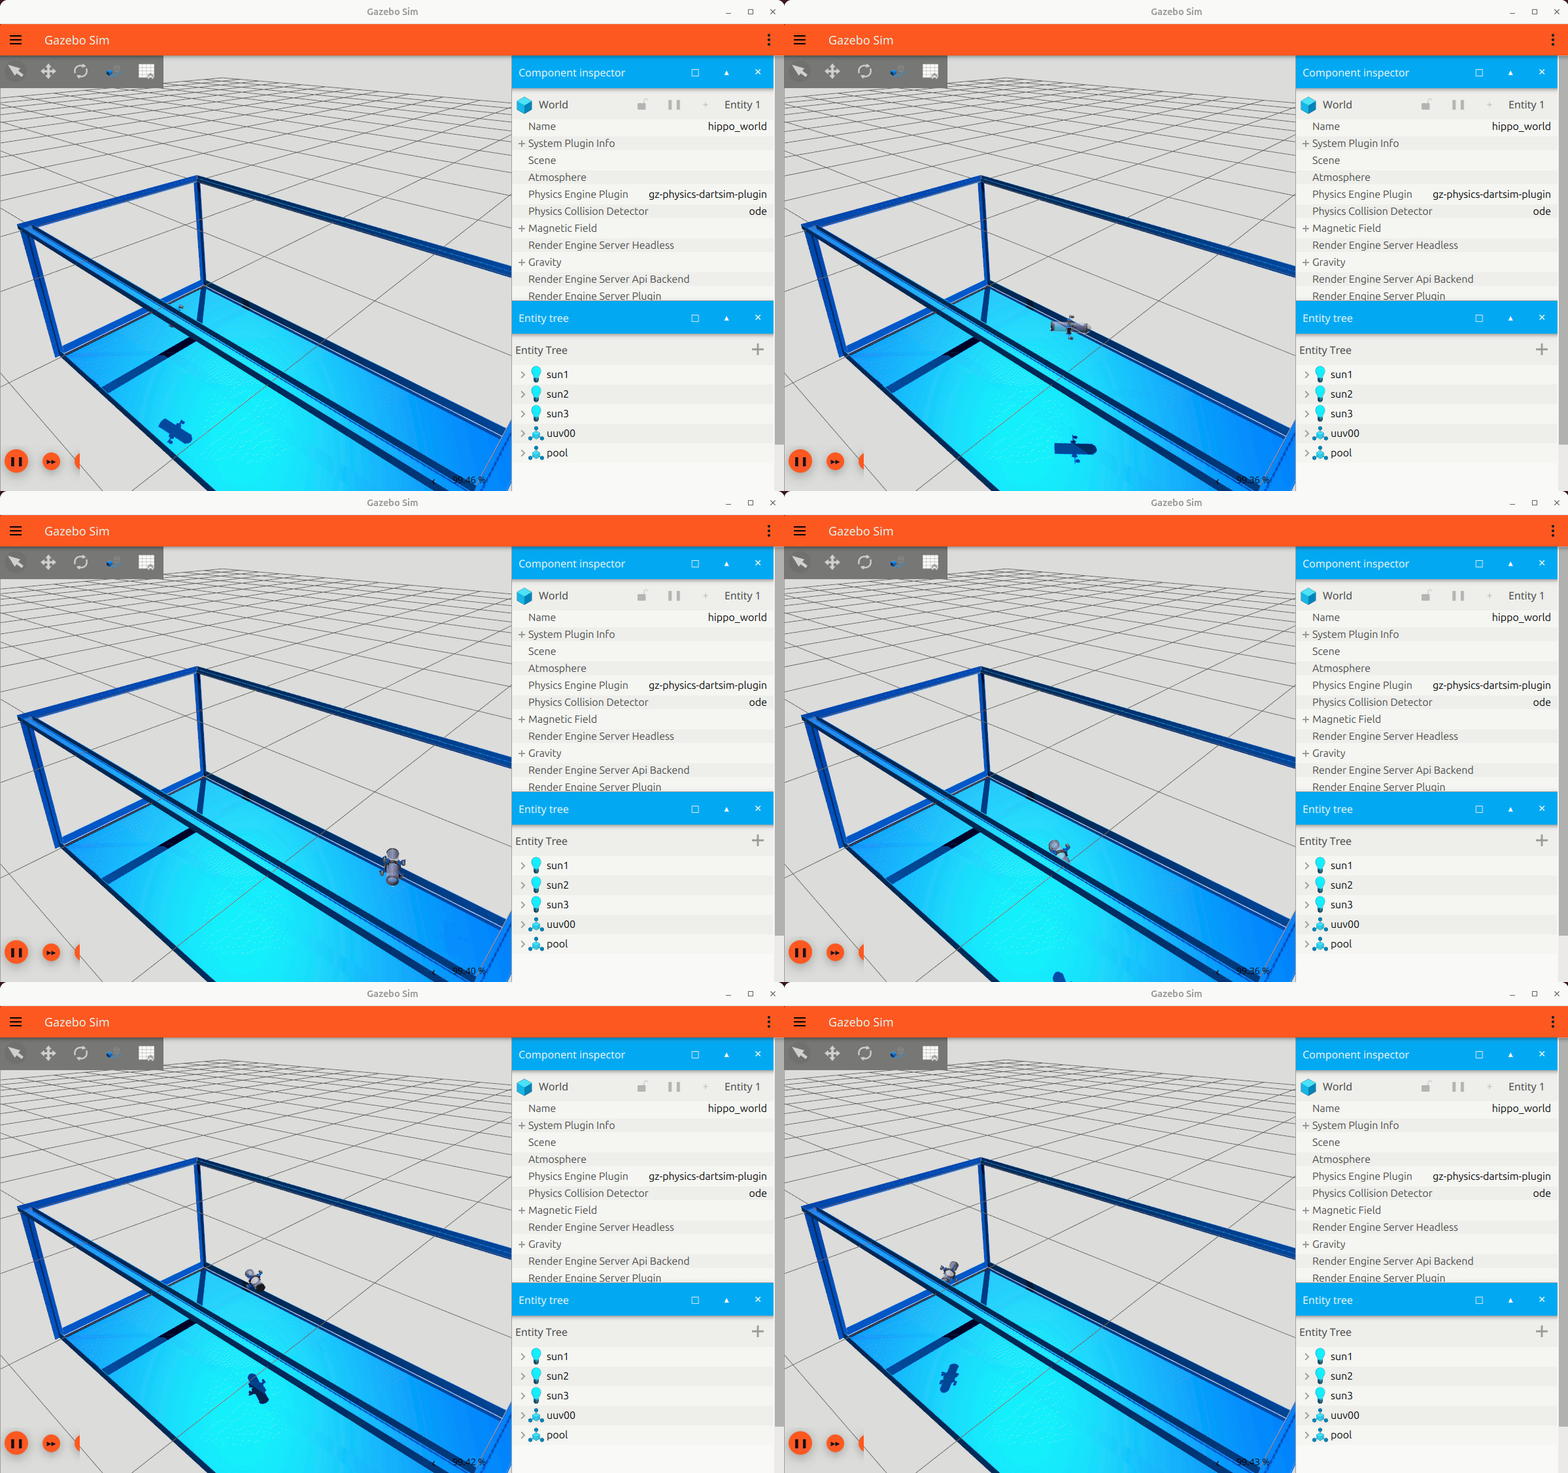
To start Gazebo with one HippoCampus:
$ ros2 launch hippo_sim top_hippocampus_complete.launch vehicle_name:=uuv00 start_gui:=true
As an example, we use uuv00 as the vehicle name. Per default, we do not open the Gazebo GUI but use RVIZ instead for visualization. If you want to see the Gazebo GUI, you need to set the respective launch argument to true: start_gui:=true.
This launchfile starts the simualtion and spawns the vehicle, the tank and, optionally, AprilTags on the floor. It also starts some utilities such as the camera bridge between Gazebo and ROS2, our tf helper for basic transformations, as well as the vehicle-specific actuator mixer.
2.7.3. Path Following example
As an example, we will let the HippoCampus follow an Infinity-shaped path in Gazebo.
$ ros2 launch hippo_control top_path_following_intra_process.launch.py vehicle_name:=uuv00 use_sim_time:=true
This will start the path follower node and all other necessary controllers.
However, by default, the thrust setpoint will be zero. To move forward, set the thrust to a positive value by publishing to the respective topic:
$ ros2 topic pub -r 50 /uuv00/thrust_setpoint hippo_control_msgs/msg/ActuatorSetpoint "{x: 0.8}"

Fig. 2.1 HippoCampus in Gazebo